USE YOUR BACKDROPS FOR PORTRAIT PHOTOGRAPHY!
Are you ready to take your portrait game to the next level? Look no further than your trusty collection of Propsyland product photography backdrops! That's right—those versatile backdrops you know and love can do double duty as the perfect backdrop for stunning portrait shots.
Thinking of new ways to use your Propsyland backdrops for portrait photography is a budget-friendly solution to varied client shoot requirements. Whether you're shooting product shots, headshots for a corporate client or creating captivating portraits for personal use, our backdrops have you covered.

1. Turn it Sideways:
Simply rotate your backdrop so it's in portrait orientation rather than landscape.
2. Secure it in Place:
Use a C-stand or blue tac to attach your backdrop to a flat surface. This ensures a seamless backdrop for your portrait shots.
3. Adjust for Height:
Set up your C-stand according to the height of your model to achieve the perfect framing for your portraits.
4. Snap Away!:
With your backdrop in place and your model ready to strike a pose, it's time to let your creativity flow. Capture stunning model product shots, professional headshots, or even upgrade your own profile pic with a portrait that pops.

But wait, there's more...
Our Propsyland backdrops are designed with a matte lacquer finish that alleviates unwanted glare, reducing post-production time and ensuring a flawless final result.
Plus, their large-scale size is perfect for portraits, providing ample space to capture every detail.
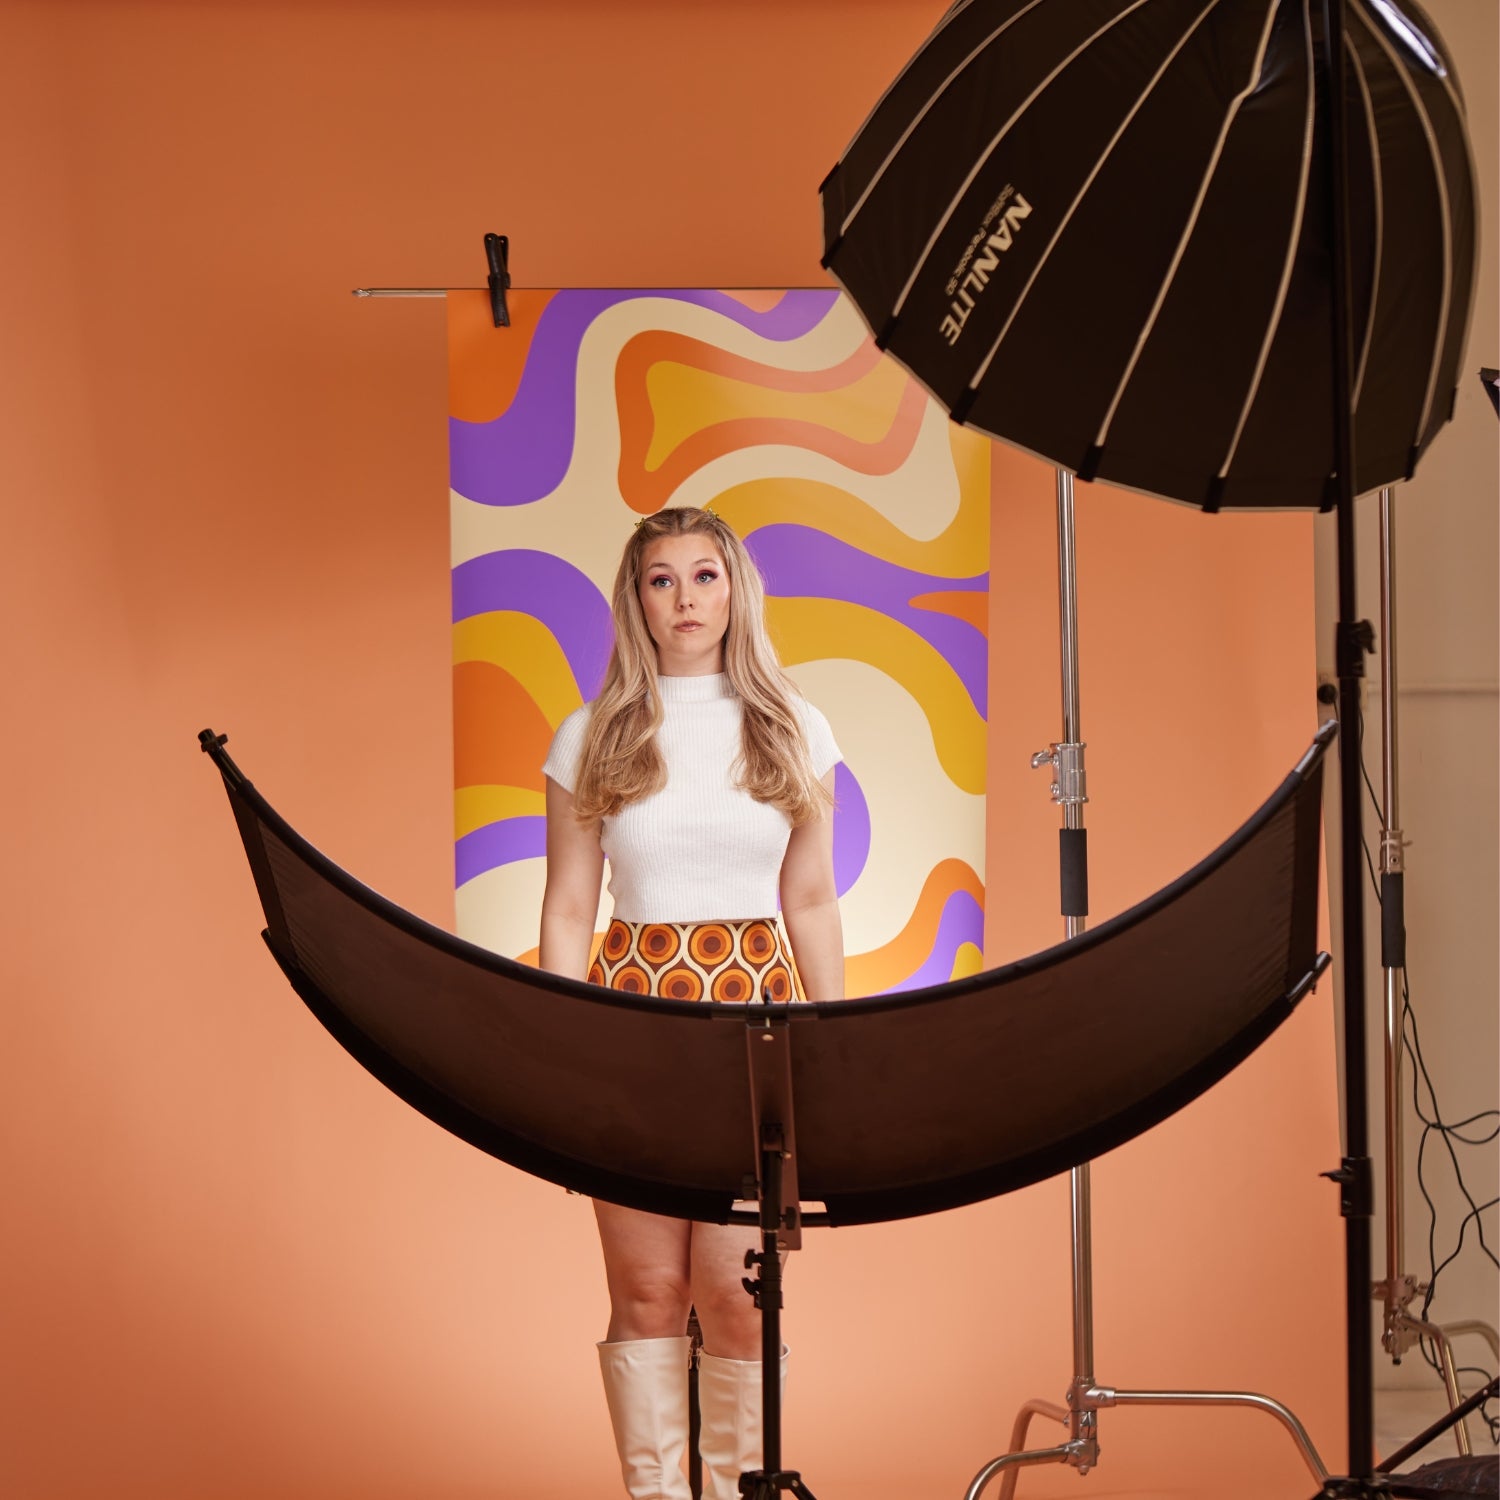
Let's touch on lighting for portrait photography:
Here's our go-to lighting setup for portrait photography, the blueprint to making the most of our Propsyland backdrops while keeping the focus squarely on your models.
We recommend using soft, diffused lighting to create a flattering and even illumination across your subject. Positioning a key light slightly off to one side of the model and a fill light on the opposite side helps to sculpt their features and adds depth to your portraits. Consider incorporating a hair light or rim light to separate your model from the background and add a subtle halo effect. With this lighting setup, you can showcase the beauty of our backdrops while ensuring your models take centre stage.

Previous article


