HOW TO TURN YOUR PROPS INTO A SUMMER PICNIC INSPIRED SCENE
I've got a game-changing DIY trick that will have you standing out from the crowd and attracting new clients in no time.

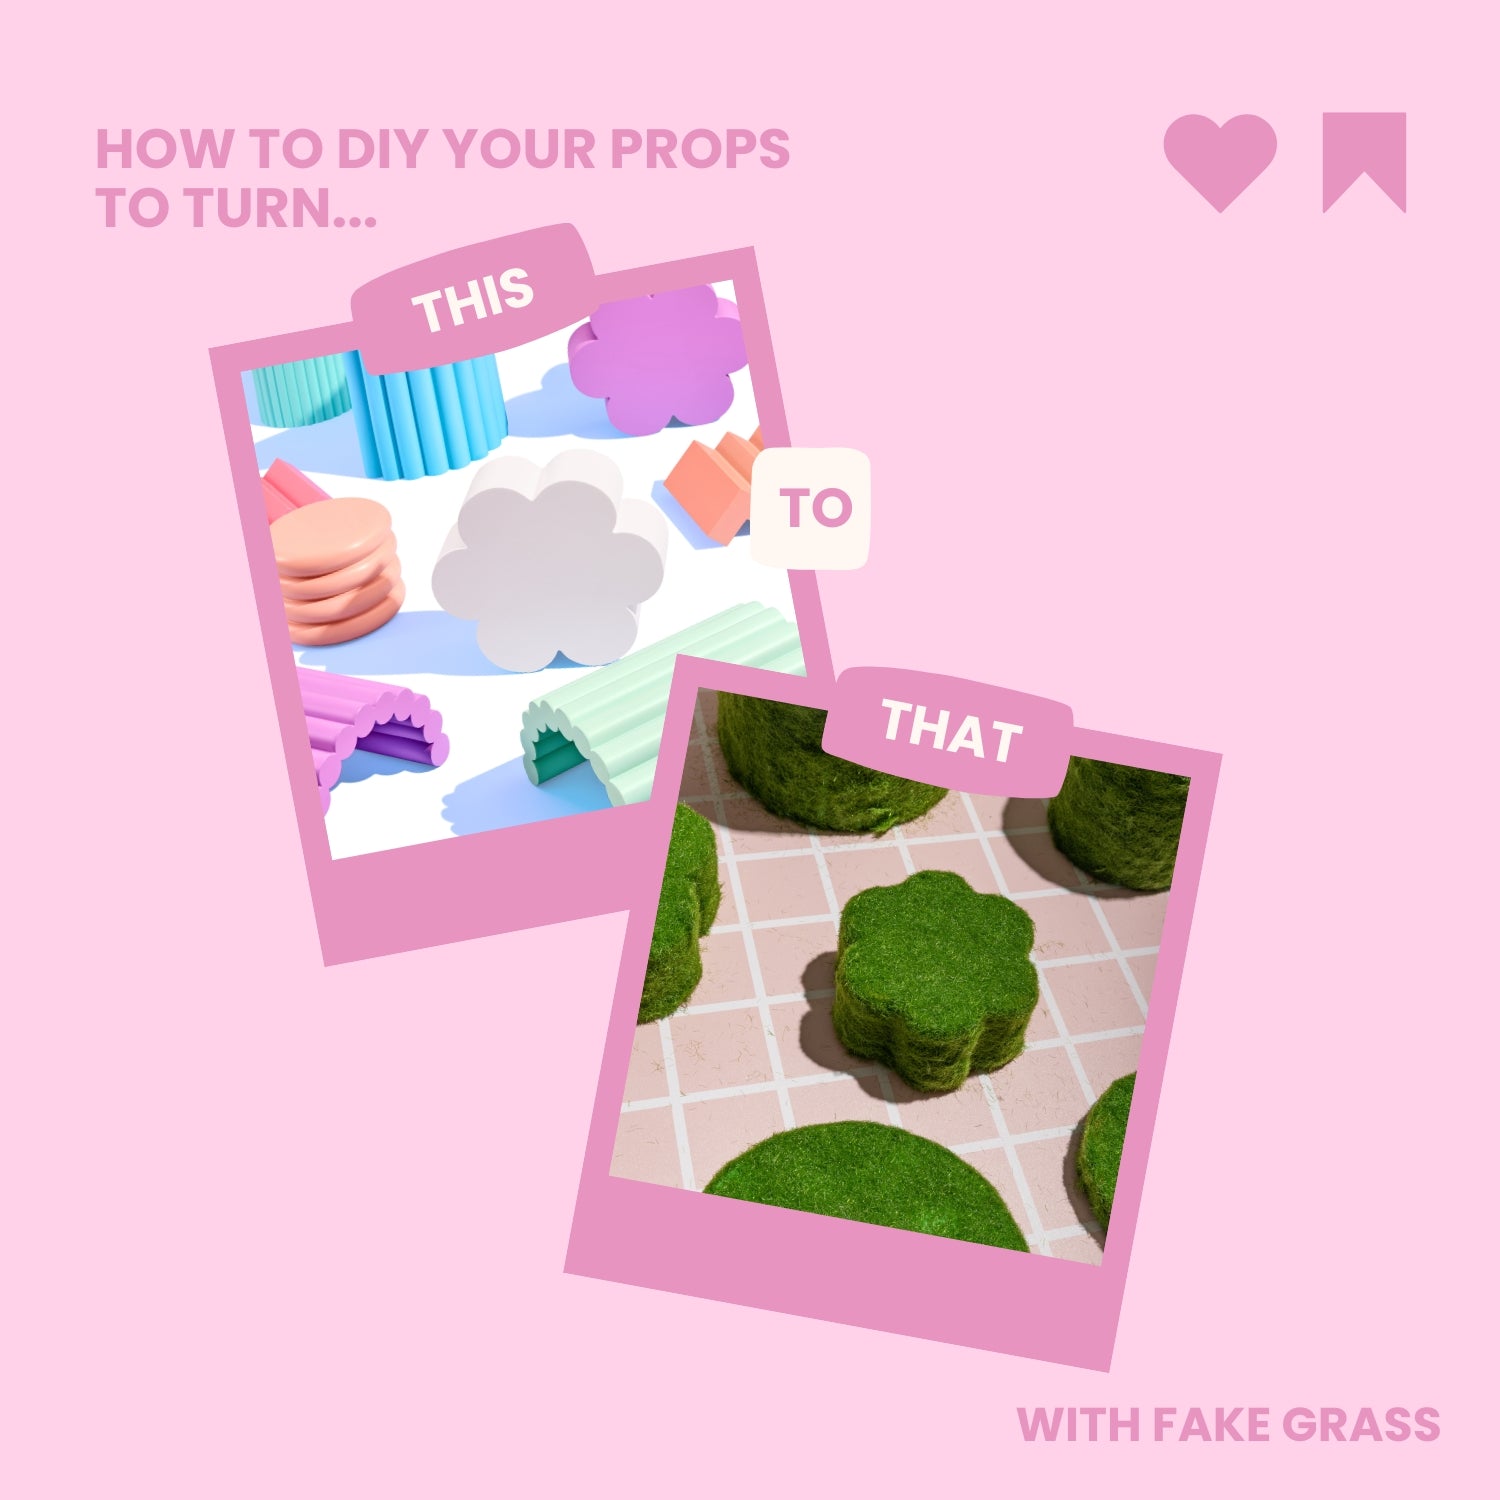
Here's how to turn your Propsyland props into a picnic-inspired scene! By revamping your trusty props with a simple DIY moment, you can breathe new life into your shots and reinvent an otherwise boring picnic shot that will leave a lasting impression.
EVERYTHING YOU'LL NEED:

HERE'S YOUR STEP-BY-STEP GUIDE TO CREATE YOUR PICNIC PROPS:
Step 1: Wipe Down Your Propsyland Props.
Start by giving your Propsyland props a quick wipe down to remove any dust or dirt that they've collected. This will ensure a clean surface for the following steps.
Step 2: Apply Superglue to the Props.
Next, apply a thin layer of superglue to the surface of your props. Be sure to work quickly to prevent the glue from drying before you move on to the next step.
Step 3: Sprinkle Green Fake Grass.
Now for the fun part! Sprinkle green fake grass over the glued areas of your props, focusing on the visible sides of your props. Feel free to get creative and experiment with different patterns and arrangements.
Step 4: Shake Off Excess.
Once you've applied the fake grass, gently shake off any excess to ensure a clean finish. Don't worry about being too precise—this step is all about adding a natural, rustic touch to your props.
Step 5: Let It Dry and Style in Your Scene.
Finally, allow the superglue to dry completely before styling your props in your scene. Whether you're shooting indoors or outdoors, incorporating your revamped Propsyland props will instantly elevate the ambiance and add a whole new level of interest to your photos.

And there you have it—a budget-friendly DIY trick that will reinvent the picnic shot and make you stand out from the crowd. So why wait? Grab your Propsyland props via our website and get creative!
Previous article


